TLDR:
- Learn step-by-step instructions for home WiFi router setup to get your network running in minutes
- Understand how to choose the optimal router location for maximum coverage and signal strength
- Discover essential security settings to protect your wireless network from unauthorized access
- Master advanced configuration options to optimize speed, performance, and device connectivity
- Get troubleshooting tips to resolve common router setup issues quickly and efficiently
Have you ever stared at your brand-new WiFi router, feeling completely overwhelmed by the tangle of cables, blinking lights, and technical jargon in the manual? You’re not alone. Studies show that nearly 40% of home users struggle with home WiFi router setup, often spending hours trying to get their network up and running or resorting to expensive professional installation services.
Setting up your home WiFi router doesn’t have to be a frustrating, time-consuming ordeal. With the right guidance and a systematic approach, anyone can successfully configure their wireless network in less than 30 minutes—no technical expertise required. A properly configured router not only provides reliable internet connectivity throughout your home but also ensures your network remains secure from potential threats.
In this comprehensive guide, we’ll walk you through every aspect of home WiFi router setup, from unboxing and physical installation to advanced security configurations and performance optimization. Whether you’re setting up your first router or upgrading to a newer model, this step-by-step router setup guide will help you establish a fast, secure, and reliable wireless network that meets all your connectivity needs.
Preparing for Your Home WiFi Router Setup
Gathering Essential Equipment and Information
Before diving into your home WiFi router setup, proper preparation ensures a smooth installation process. Having all necessary components and information at hand eliminates frustrating interruptions and potential setup failures.
Equipment checklist:
- Your new WiFi router with power adapter
- Ethernet cable (usually included with the router)
- Modem from your Internet Service Provider (ISP)
- Computer, smartphone, or tablet for configuration
- ISP account information and credentials
- Pen and paper to note down important settings
Information you’ll need:
- ISP username and password (for DSL or PPPoE connections)
- ISP customer support number in case you need assistance
- Default router credentials (found on the router label or manual)
- Desired network name (SSID) for your WiFi network
- Strong password for your WiFi network (at least 12 characters)
According to Consumer Reports, having your ISP information readily available can reduce setup time by up to 50%, as many users encounter delays when searching for account credentials during installation.
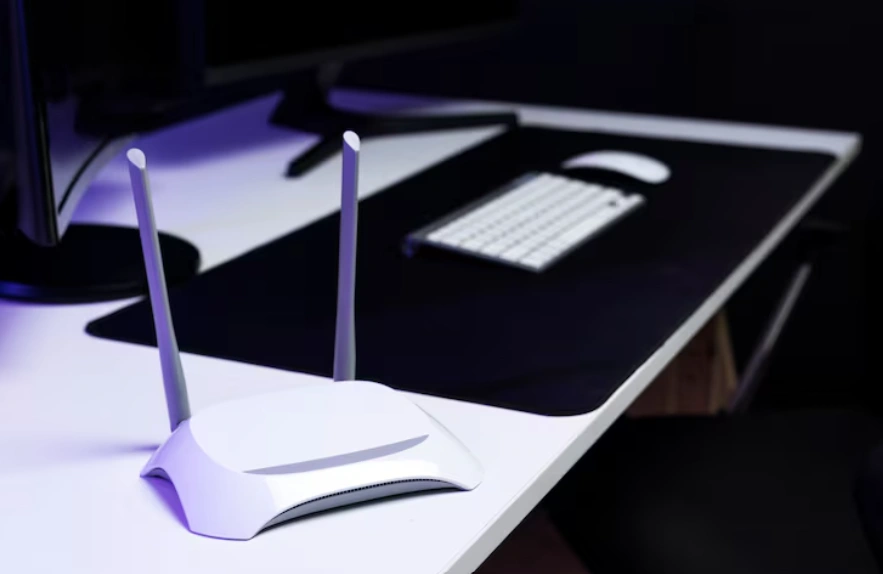
Choosing the Optimal Router Location
Router placement significantly impacts your wireless network performance. The physical location of your router determines signal strength, coverage area, and connection stability throughout your home.
Best practices for router placement:
- Central location: Position your router in the middle of your home for even coverage distribution
- Elevated position: Place the router on a shelf or mount it on a wall (higher is generally better)
- Open space: Avoid enclosed cabinets, closets, or corners that block signals
- Away from interference: Keep distance from microwaves, cordless phones, and baby monitors
- Minimize obstacles: Reduce barriers like walls, metal objects, and large furniture between the router and devices
Locations to avoid:
- Basements or attics (unless that’s where you need coverage most)
- Near windows (signal escapes outside wastefully)
- Behind TVs or entertainment centers
- Kitchen areas with multiple appliances
- Bathrooms with metal plumbing and fixtures
Research from Wirecutter indicates that optimal router placement can improve WiFi speeds by 25-40% compared to poor positioning, making location selection a critical factor in your wireless router configuration.
Step-by-Step Home WiFi Router Setup Process
Physical Connection and Initial Setup
Now that you’re prepared, let’s begin the actual home WiFi router setup process. These initial steps establish the physical connections required for your router to communicate with your modem and devices.
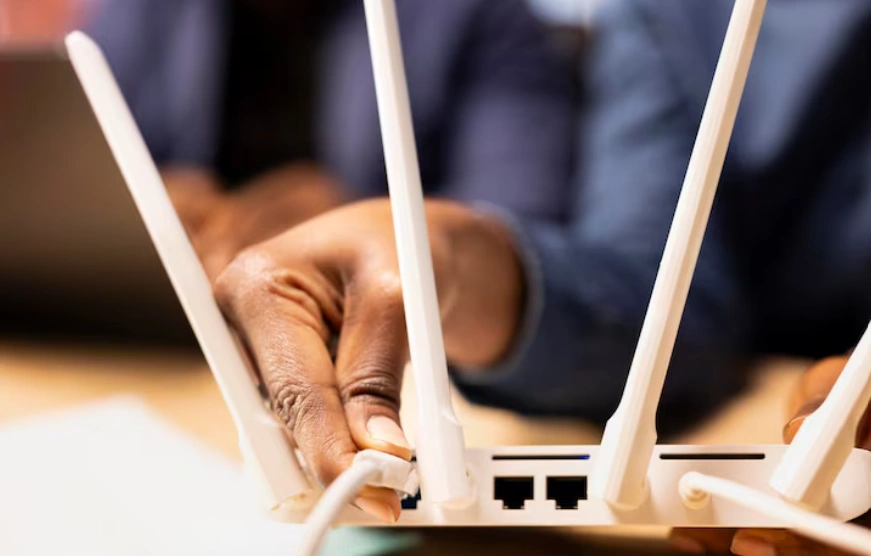
Step 1: Connect your modem to the router
- Power off your modem by unplugging it from the electrical outlet
- Locate the Ethernet cable included with your router
- Connect one end of the Ethernet cable to your modem’s Ethernet port
- Connect the other end to the WAN or Internet port on your router (usually colored differently or labeled)
- Plug your modem back into the power outlet and wait 2-3 minutes for it to fully restart
Step 2: Power on your router
- Connect the power adapter to your router
- Plug the adapter into a power outlet
- Press the power button if your router has one
- Wait 2-3 minutes for the router to boot up completely
- Verify that the power LED and internet LED are solid (not blinking excessively)
Step 3: Connect to the router’s default network
- On your computer or mobile device, open WiFi settings
- Look for the default network name (SSID) printed on your router’s label
- Select this network and enter the default password (also on the router label)
- Wait for the connection to establish
Connection verification checklist:
| Component | Status Indicator | What to Look For |
| Power | Power LED | Solid green or white light |
| Internet | WAN/Internet LED | Solid or blinking (activity) |
| WiFi | Wireless LED | Solid or blinking (broadcasting) |
| Ethernet | LAN port LEDs | Lit if devices connected |
Accessing the Router Configuration Interface
With physical connections established, the next phase of your WiFi network installation involves accessing the router’s web-based configuration interface to customize settings.
Accessing the router admin panel:
- Open a web browser (Chrome, Firefox, Safari, or Edge)
- Type your router’s default IP address in the address bar (common addresses: 192.168.1.1, 192.168.0.1, or 10.0.0.1)
- Press Enter to load the router login page
- Enter the default admin username and password (found on router label or manual)
- Click Login or Sign In to access the configuration dashboard
Alternative access methods:
- Many modern routers offer smartphone apps for easier setup (TP-Link Tether, Netgear Nighthawk, ASUS Router, etc.)
- Some routers use web addresses like routerlogin.net or tplinkwifi.net instead of IP addresses
- If you can’t find the IP address, check your device’s network settings for the “Default Gateway” address
First-time setup wizard:
Most contemporary routers feature a setup wizard that guides you through initial configuration. This automated process typically includes:
- Internet connection type detection (DHCP, Static IP, PPPoE, etc.)
- ISP credential entry (if required)
- WiFi network name (SSID) customization
- Password creation for your wireless network
- Basic security settings configuration
- Firmware update checks
According to CNET, setup wizards reduce configuration errors by approximately 60% compared to manual setup, making them the recommended approach for most users, especially those new to wireless router configuration.
Configuring Essential Router Settings
Setting Up Your Wireless Network Name and Password
Customizing your network credentials is a crucial security step in your home WiFi router setup. Default network names and passwords are publicly available and make your network vulnerable to unauthorized access.
Creating a secure WiFi network name (SSID):
- Choose a unique name that doesn’t reveal personal information (avoid using your address, name, or phone number)
- Keep it memorable but not too obvious
- Avoid special characters that might cause connection issues with older devices
- Don’t advertise your router brand or model (e.g., “NETGEAR-5G” or “TP-Link-Home”)
Bad SSID examples: “123MainStreet,” “JohnSmithWiFi,” “NETGEAR47”
Good SSID examples: “SkynetLiving,” “CloudNineNetwork,” “ConnectionCity”
Creating a strong WiFi password:
Your WiFi password protects your network from unauthorized users who could consume bandwidth, access shared files, or conduct illegal activities through your connection.
Password requirements:
- Minimum 12-16 characters (longer is better)
- Combination of uppercase and lowercase letters
- Include numbers and special symbols
- Avoid dictionary words, personal information, or common patterns
- Don’t use the same password for multiple networks or accounts
Password strength comparison:
| Password Type | Example | Crack Time | Security Level |
| Weak | password123 | Instant | Unacceptable |
| Fair | MyHouse2024! | Hours | Poor |
| Good | T7pL#9mK2$wR | Years | Acceptable |
| Excellent | xR9#mT2$pL7&wK5@nF3 | Centuries | Recommended |
Implementing Critical Security Settings
Security configuration is perhaps the most important aspect of your router setup guide. Proper security settings protect your network, devices, and personal data from cyber threats.
Essential security configurations:
1. Change the router admin password:
- The default admin password (different from WiFi password) provides access to router settings
- Navigate to Administration or System settings in your router interface
- Create a strong, unique password different from your WiFi password
- Store this password securely (password manager recommended)
2. Enable WPA3 or WPA2 encryption:
- Navigate to Wireless Security settings in your router configuration
- Select WPA3 (if available) or WPA2-PSK (AES) as the security mode
- Avoid WEP or WPA (original) as they’re outdated and easily compromised
- Save settings and reconnect all devices with the new security protocol
3. Disable WPS (WiFi Protected Setup):
- WPS has known vulnerabilities that attackers can exploit
- Find WPS settings in the wireless configuration section
- Toggle WPS to OFF or Disabled
- This slightly increases setup complexity but significantly improves security
4. Enable the firewall:
- Most routers include built-in firewalls
- Navigate to Security or Firewall settings
- Ensure the firewall is enabled (usually enabled by default)
- Set the security level to Medium or High
5. Disable remote management:
- Remote management allows configuration from outside your network
- Unless you specifically need this feature, disable it
- Find Remote Management or Remote Access settings
- Toggle to OFF or Disabled
According to the Federal Trade Commission, implementing these five security measures can prevent over 85% of common home network attacks, making them non-negotiable components of any home WiFi router setup.
Optimizing Router Performance and Advanced Settings
Configuring WiFi Bands and Channels
Modern dual-band and tri-band routers broadcast on multiple frequencies, offering flexibility to optimize performance for different devices and usage scenarios.
Understanding WiFi bands:
2.4 GHz band:
- Longer range but slower speeds
- Better wall penetration
- More susceptible to interference (many devices use this frequency)
- Ideal for smart home devices, older laptops, and devices far from the router
5 GHz band:
- Faster speeds but shorter range
- Less interference from other devices
- More channels available
- Ideal for streaming, gaming, and devices close to the router
Optimizing channel selection:
WiFi channels can be congested, especially in apartment buildings or dense neighborhoods. Selecting less crowded channels improves performance.
Steps to optimize channels:
- Use a WiFi analyzer app (WiFi Analyzer for Android, NetSpot for Mac/Windows)
- Scan for nearby networks to identify crowded channels
- In your router settings, navigate to Wireless Settings
- For 2.4 GHz, manually select channels 1, 6, or 11 (these don’t overlap)
- For 5 GHz, most routers automatically select the best channel
- Save settings and test performance
Enabling band steering:
Many modern routers support band steering, which automatically connects devices to the optimal frequency band based on signal strength and device capabilities.
- Navigate to Wireless Settings or Advanced Wireless
- Look for Band Steering, Smart Connect, or similar options
- Enable this feature for automatic optimization
- Devices will seamlessly switch between 2.4 GHz and 5 GHz as needed
Setting Up Guest Networks and Parental Controls
Advanced features enhance your network’s functionality and security, particularly important for households with multiple users or visitors.
Configuring a guest network:
Guest networks provide internet access to visitors without exposing your main network and connected devices.
Benefits of guest networks:
- Isolates guest devices from your personal network
- Prevents access to shared folders, printers, and smart home devices
- Allows you to set bandwidth limits for guest usage
- Can be easily disabled when not needed
Setup steps:
- Navigate to Guest Network settings in your router interface
- Enable the guest network feature
- Create a separate SSID for the guest network
- Set a different password (or no password for public access)
- Enable client isolation to prevent guest devices from seeing each other
- Set usage time limits or bandwidth restrictions if desired
- Save settings and test the guest network
Implementing parental controls:
Parental controls help manage internet access for children, ensuring age-appropriate content and healthy screen time habits.
Common parental control features:
- Website filtering by category (adult content, gambling, social media, etc.)
- Time-based access restrictions (bedtime, homework hours, etc.)
- Device-specific controls (different rules for each child’s devices)
- Usage monitoring and reporting
- Safe search enforcement on search engines
Configuration steps:
- Access Parental Controls or Access Control in router settings
- Add devices to monitor by MAC address or device name
- Set content filtering levels (child-safe, teen, custom)
- Configure time schedules for internet access
- Create allowed or blocked website lists
- Enable activity logging to monitor usage
- Save and apply settings
For more insights on optimizing your home network and technology setup, <a href=”https://etagicon.com”>explore more blogs</a> to stay informed about the latest tips and best practices.
Troubleshooting Common Router Setup Issues

Resolving Connection Problems
Even with careful setup, you may encounter issues during or after your home WiFi router setup. Understanding common problems and their solutions saves time and frustration.
Issue 1: Cannot access router configuration page
Possible causes and solutions:
- Verify you’re connected to the router’s network (wired or wireless)
- Try alternative IP addresses (192.168.1.1, 192.168.0.1, 10.0.0.1)
- Clear your browser cache and cookies
- Try a different web browser
- Disable VPN or proxy connections
- Restart your computer and router
Issue 2: No internet connection despite successful router setup
Troubleshooting steps:
- Verify all cables are securely connected
- Power cycle your modem and router (unplug for 30 seconds, then reconnect)
- Check if your ISP service is active (call ISP customer support)
- Verify you entered correct ISP credentials (for PPPoE connections)
- Check if your modem requires MAC address registration
- Try connecting a device directly to the modem to test internet service
Issue 3: Weak WiFi signal or slow speeds
Optimization solutions:
- Relocate the router to a more central, elevated position
- Update router firmware to the latest version
- Change WiFi channels to reduce interference
- Limit the number of connected devices
- Enable Quality of Service (QoS) to prioritize important traffic
- Consider WiFi extenders or mesh systems for large homes
- Ensure your internet plan supports the speeds you expect
Issue 4: Devices won’t connect to the network
Resolution steps:
- Verify you’re entering the correct WiFi password
- Forget the network on the device and reconnect
- Restart the device attempting to connect
- Check if MAC address filtering is enabled (disable or add device)
- Verify the router isn’t limiting the number of connected devices
- Update device WiFi drivers or operating system
- Try connecting via 2.4 GHz instead of 5 GHz (or vice versa)
Keeping Your Router Updated and Maintained
Regular maintenance ensures your router continues operating at peak performance and remains protected against emerging security threats.
Firmware updates:
Router manufacturers regularly release firmware updates that fix bugs, patch security vulnerabilities, and add new features.
How to update router firmware:
- Access your router’s administration interface
- Navigate to System, Administration, or Firmware Update section
- Check for available updates (some routers check automatically)
- Download and install updates following on-screen instructions
- Do not interrupt the update process or power off the router
- Wait for the router to restart completely after updating
- Verify all settings remain intact after the update
Regular maintenance tasks:
- Monthly: Check for firmware updates and install if available
- Quarterly: Review connected devices and remove unknown entries
- Quarterly: Change WiFi password for enhanced security
- Annually: Review and update router admin password
- Annually: Evaluate router performance and consider upgrades if needed
Performance monitoring:
Keep track of your network’s performance to identify issues before they become serious problems.
Metrics to monitor:
- Download and upload speeds (use speed test websites)
- Number of connected devices
- Network congestion during peak usage times
- Frequency of disconnections or dropped connections
- Router temperature (excessive heat indicates ventilation problems)
According to PC Magazine, routers that receive regular firmware updates and maintenance last 30-40% longer than neglected devices, providing better long-term value and security.
Conclusion
Mastering home WiFi router setup empowers you to create a fast, secure, and reliable wireless network without professional assistance. By following this comprehensive router setup guide, you’ve learned how to physically connect your router, access and navigate the configuration interface, implement essential security settings, and optimize performance for your specific needs.
Remember that successful wireless router configuration goes beyond initial setup. Regular firmware updates, periodic security audits, and performance monitoring ensure your network remains protected and operates efficiently for years to come. The time you invest in properly configuring your router pays dividends through improved connection speeds, enhanced security, and reduced technical problems.
Whether you’re setting up your first router or upgrading to a more advanced model, these foundational principles apply universally. Don’t hesitate to revisit this guide whenever you need to adjust settings, troubleshoot issues, or optimize performance. Your home network is the foundation of your digital life—keeping it secure and running smoothly should always be a priority.
Ready to explore more technology tips and guides? Visit Etagicon for expert advice on all things tech. For more in-depth content on routers, networking, and other technology solutions, explore more blogs on our website.